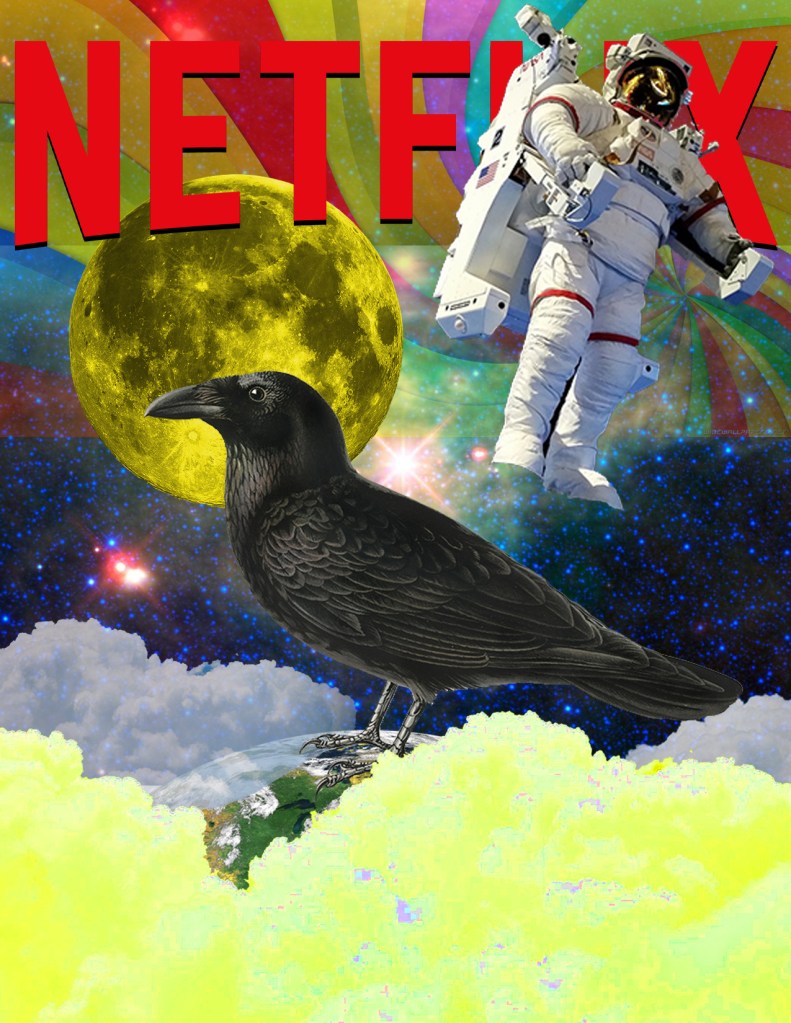
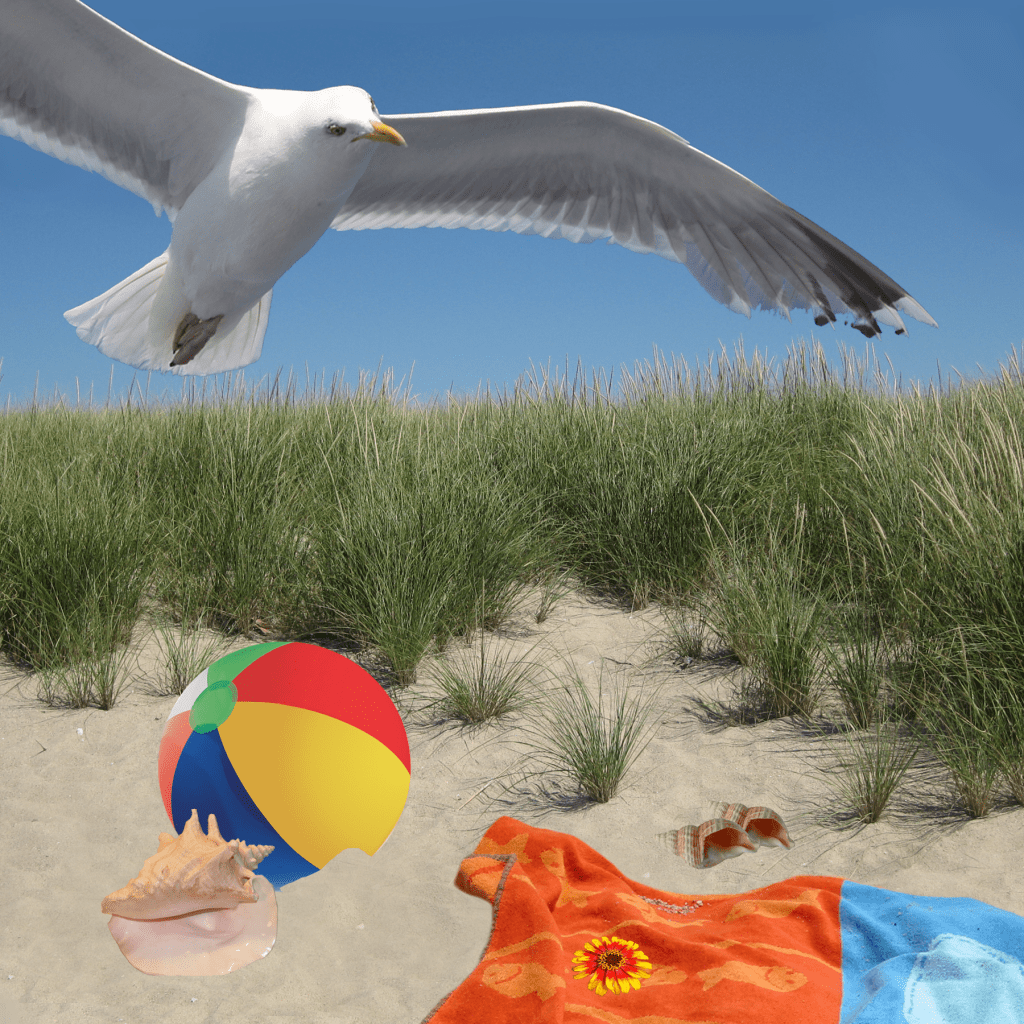
For this week, my classmates and I learned the basics of composition and selections as well as how to put it all together with what we learned with masking. There wasn’t much of a creative process with the beach scene as it was meant to be followed with exact instructions. The Netflix composition was a bit more interesting. For this project, the format consisted of a RGB color mode with a 150 ppi resolution and 8.5 by 11 dimensions. At first, there really wasn’t much of a creative process to follow since it was my plan to copy the original composition given to us. But as I started to work, I concluded that it was too challenging for me to get everything exact. So I ended up adopting a creative process where I’d make certain aspects of the composition look the same but also but my own twist and take onto other parts that I was having a hard time replicating. Take the clouds at the bottom of the screen for example. I couldn’t get the color the way I wanted it so I eventually decided to just change the saturation and color. I went with a color that I thought complimented the rest of the picture since I couldn’t get the exact color from the original composition. Also, I couldn’t get the space background where the rainbow colors are perfect so I just used a low saturation layer mask to make it appear similar but also in a way that I believed matched my artistic vision. In terms of some of the tools I used, I made use of the magic wand to make selections. I used the wand tool for all of the images exact for the Netflix title, the space background, and the rainbow background. To make more exact cuts, I used the rectangular marquee tool then the subtraction tool on the spaces I wished to get rid of. For the Netflix title, I couldn’t get the shadow from the original so I improvised with a drop shadow of my own using the effects option. One other issue I ran into was replicating the clouds on the bottom left and right. What I did to at least make it look similar is use the lasso tool on a selection of the middle cloud then adjusted their opacity using layer masks. The final problem for me was the moon. For the life of me, I could not get the exact shade I wanted. Because I was a little lost, I tried my best to replicate it by changing up the hue and saturation. Everything else in the process we basically just using layer masks and changing up layer orders. That’s how I got the space background to look the way it did.